Showing posts with label instructions. Show all posts

Friday, July 3, 2015

10 cards in 20 minutes...

I dread making multiples of the same card...boring.
However, I stumbled upon  

Brandy Cox

She has some awesome tips 
and her cards are pretty darn cute.
So grab a cup of your favorite beverage and sit back and hit play.


Here's the link to her blog   
if you want to check out more of her designs.


Thanks for stopping by. Please leave a comment. I love to hear what you think.

Tuesday, May 26, 2015

Bokeh Technique

I have been super busy and I apologize for not posting lately.
However, there is a technique that I have been dying to try.
However, I have not had time
so I am going to share with you what
Julie from The ScrapZone has done

Enjoy, and please if you like this instructional video,
 head over to Julie's blog to see what she created with it.


Thanks for stopping by. Please leave a comment. I love to hear what you think.

Monday, February 2, 2015

Tuesday's tips--matting a cricut cut banner

I love my cricut.  Love the fact that if I cut a 2" square I can make a perfect  1/2" mat by cutting another square at 2 1/2".  Unfortunately this does not always work with odd sized images.  Take the banner below
I cut my mat in a ruby 1/4" bigger than the original.  And it just doesn't work.  Now if you use cricut craft room you can probably make it work.  I, however have not mastered the craft room, so I have to do it my way.


Cut the  original banner apart.
Leave a bit of a space between each one and adhere to mat.
You will end up with a banner like the one above.
(not so pretty with those spaces)
so...
Take one of the Ruby hearts (from the inside of the mat banner)
and adhere it so it covers the "cut" space.


Tadah!! 
A nicely matted banner, 
A perfect piece of eye candy, ready to use.
Hope you found this tip helpful.


Thanks for stopping by. Please leave a comment. I love to hear what you think.

Saturday, August 9, 2014

One Sheet Wonder/Chalk it Up! Mini album


Say Cheese!
This pocket sized mini is made from 1 12x12 sheet of cardstock
  It has 3 pockets and two fold out pages
And is the perfect size for all those 2"x3" school photos 
that one seems to accumulate at this time of the year

I got the inspiration for this from paper, crafts & scissors.
However, I have tweaked it to make it mine


score the cardstock at 4" & 8"
flip the page and score at 3", 6" and 9"
as shown above

cut on blue lines as shown,


 this looks confusing,  
 but it will all make sense...you are making two side loading pockets and two fold out flaps 
I suggest you fold everything and paper clip your "glued" sides together first
so you get a feel for how this will work
 (see image below for how it all comes together)


Thanks for stopping by. Please leave a comment. I love to hear what you think.

Tuesday, July 15, 2014

Cross Canada Hop featuring Circus Alphabet & CTMH's Cricut Artbooking


Welcome to our July Blog Hop featuring creations.  To purchase any of the items seen in our blog hop today, contact your local consultant to place an order.

If you have just hopped onto my blog,welcome.  If you came from Deanne's Blog you're in the right place.

I showcased the cover of this mini on the  July SOTM Blog Hop, since then I have tweaked it a bit to make it easier to put together.  So some of my sneak peaks might not be exactly as shown below.

Basic supplies for this project
Skyark paper, Kraft Cardstock & CTMH's Artbooking Cricut Cartridge
and June Stamp of the Month and one stamp soon to be released.

Before I begin with page by page details, here is an overview of the base pages
 before I started adding stuff to them.

All of the pages were
cut at 5 1/2"  from the artbooking cartridge
except for
"A" is matted on 5 x 5  kraft cardstock ( I did this to give it a bit more stability as a cover and to make the covers a bit bigger than the pages of the album.)

"F"  (4 1/4"  x 5" sweet leaf cardstock with
      corners trimmed off)

"I" (6x6 kraft cardstock)

Note:I used the holes in the other pages as a guide


The beauty of the Artbooking cartridge is that you can
 pick an album,
 pick a size I chose 5 12"
 (the suggested cutting size for this was 7", I wanted something a bit smaller)
pick some paper and start cutting.
Then, when you have all the pieces cut out
 you can put them together anyway you like.
AND they will fit.
Below is a picture of the pages from the Artbooking Cricut Cartridge that I used to make this album

Pages & accents  cut @ 5 1/2" unless otherwise noted


Now on with the album
cover (A)

Inside cover (A)

Page 1 (B)

Page 2 (B)

Page 3 (G) 
I know, it's not in order

Page 4 (G)

Page 5 (D) 

Page 6 (D) 
sorry, bit of a typo on the photo mat...it should be 3x4
I know it's a mirror image of page 5, 
that's the only way I could make the umbrella work


Page 7 (C)

Page 8 (C)


Page 9 (F)


Page 10 (F)


Page 11 (E)


Page 12 (E)


 Page 13 (H)


Page 14 (H)
"my sun shine" (p. 67 artbooking) 7"


Page 15 (H)
"endless summer"(p. 67 artbooking) 7"
Back Cover (H)
striped 1 x 3 1/2      lagoon 1/2 x 3 1/2
flower # 7    @ 1 3/4" sweet leaf (AP p. 39)
flower # 7    @ 1 1/2 patterned (AP p. 39)
leaves 1 1/4 sweet leaf (p. 62 AP)

one last look at the completed album


Hope you enjoyed this little summer album.  Actually one of the first projects I have made using the Artbooking Cartridge that I made using ONLY two pages (well except for a couple extra's I threw in)

Now, on to Deanne Blog to see what she has created.

This album available as a kit,  pre-cut and ready to assemble $20 (S&H extra)
 Send me a message via my contact box on the side.

Thanks for stopping by. Please leave a comment. I love to hear what you think.

a

Sunday, March 16, 2014

Every Page a Pocket/interactive Mini Album Basic Instructions

I have made 4 of these albums in the last couple of weeks.
They are super easy, and yet a tad confusing,
so hopefully these instructions will make it easy for you to recreate your own.
Note: you can order all of the paper by clicking here.

Step 1.  Create the base pages, all in the same color of cardstock
               cover                 7x7 (2 pieces glued together)
              Pg 1 A & B        7x3 (2 pieces with an envelope sandwiched in between)
              Pg 2 A & B        7x3 (2 pieces with an envelope sandwiched in between)
              Pg 3 A & B        7x3 (2 pieces with an envelope sandwiched in between)
              Pg 4 A & B        7x3 (2 pieces with an envelope sandwiched in between)
              back cover         7x7 (2 pieces glued together)

So your cutting guide would look this


Step 2.  Layout all your pages with the basic B&T paper added
            See below for examples


Step 3.  Glue you pages together as shown below

Step 4.  Add the Flip Up Mini  Album to page 3A

             
However you could also use small flip flaps like I did in the album below
Step. 4   Create the mini fold out album
               Basically this is a 4 1/2"  x 12"  piece of cardstock in a contrasting color to your base page of your mini album.  The pic below is from the Skylark mini.


Step 5.   Add tags, and tags and tags,
              where ever you have a pocket add a tag, or two tags
              vary the size and type of tag.  Add some stamping and distressing to your tags,
              be creative.  Below are two examples


Step 6.  Embellish, this is the fun part.  Go through your album page, by page
             adding a little bit here and there.  I love Close to my Heart's my Complements for this
             Below is a tag from the Skylark mini that I have embellished, 
Step 7.  Optional---create a mini page between each page. 
              I did this in the Skylark mini by simply using cards from the
              NEW Picture My Life program  or PML for short
              Below is an example of how everything can come together


These are the basic intructions I used for the Timbeline mini , the Skylark mini   (both of these are completed and on previous posts) and the for Balloon Ride & Lollydoodle mini that I am working on.

Thanks for stopping by. Please leave a comment. I love to hear what you think.

Wednesday, March 5, 2014

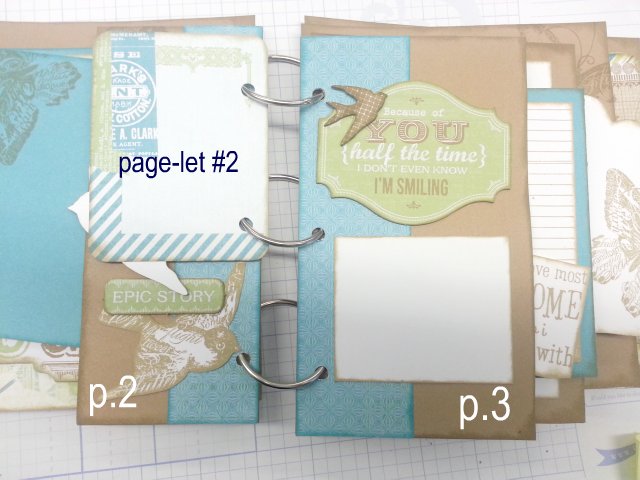
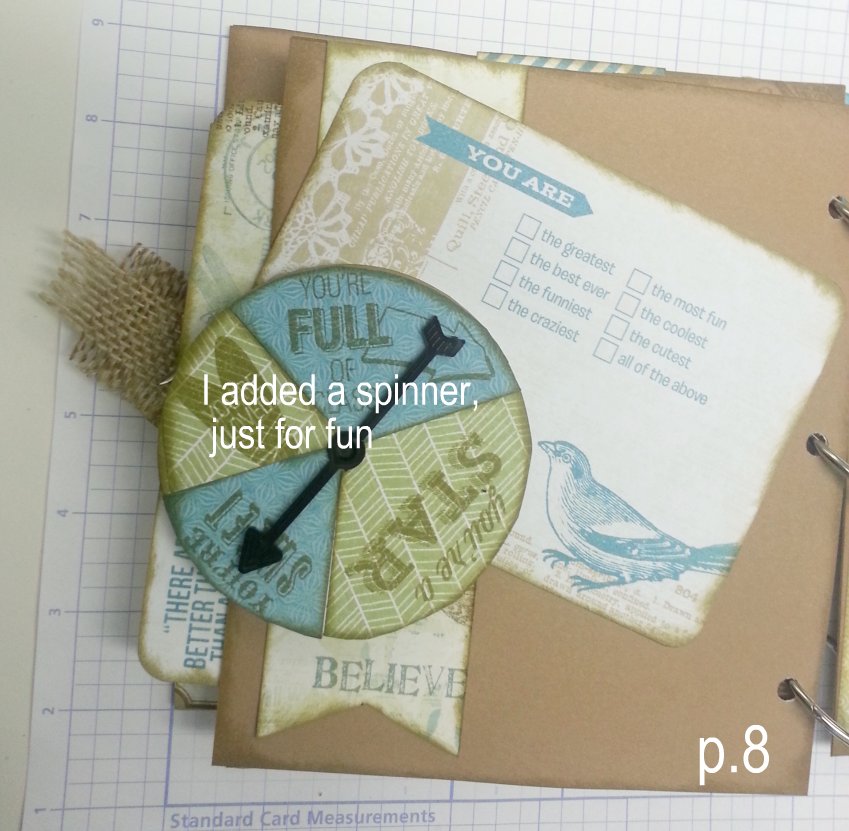
Skylark Mini

I gave you a sneak peak a couple of days ago.
Here's the whole thing


Supplies 

1273        5 sheets desert sand cardstock
X5762     3 sheets lagoon cardstock
1385        6 sheets daisy white cardstock
X7177B   Skylark paper pack
X7177c    Skylark compliments
Z1947       Skylark Picture my Life (need half a dozen cards)
Z1476       7 envelopes
Z2118       desert sand ink
D1574      Take note stamp set from the Cricut Artbooking Bundle

I random stamped images from the retired stamp set D1452 throughout the book and fussy cut a number of these images as well.  You could use any stamp set that had images of birds in it.

Thanks for stopping by. Please leave a comment. I love to hear what you think.